Developing and testing a WordPress website before making it live is a best practice that many developers follow. One way to achieve this is by setting up WordPress on a localhost environment. In this step-by-step guide, we’ll walk through the process of installing WordPress on localhost, allowing you to experiment, troubleshoot, and perfect your website before taking it live.
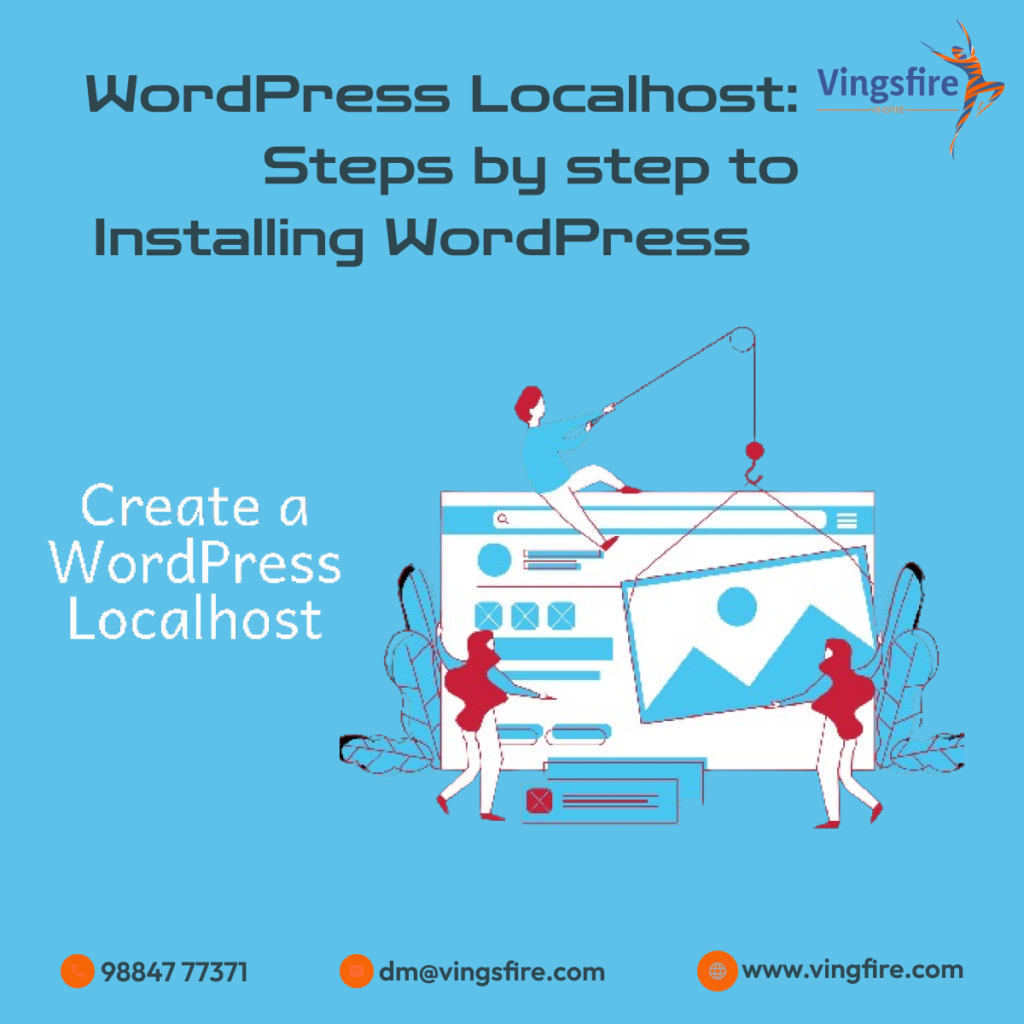
What is a Localhost Environment?
A localhost environment is essentially a server environment that runs on your local machine. It allows you to create and test websites without the need for an internet connection. Setting up WordPress on localhost enables you to work on your site privately before deploying it to a live server.
Choose a Local Server Environment:
Before installing WordPress locally, you need to set up a local server environment. Popular choices include XAMPP, MAMP, and Local by Flywheel. Choose the one that best suits your operating system (Windows, macOS, or Linux) and download the installer.
Install and Configure the Local Server:
Follow the installation instructions for your chosen local server environment. This typically involves running the installer and configuring basic settings like the root directory for your local websites. Start the local server once the installation is complete.
Download the Latest Version of WordPress:
Visit the official WordPress website and download the latest version of WordPress. This will be a ZIP file containing all the files necessary for a WordPress installation.
Create a Database:
Using your local server’s control panel, create a new MySQL database for your WordPress installation. Take note of the database name, username, and password, as you’ll need these details during the WordPress installation process.
Extract and Move WordPress Files:
Extract the contents of the WordPress ZIP file you downloaded earlier. Move the extracted files to the root directory of your local server. This is usually the “htdocs” folder for XAMPP or MAMP users. For Local by Flywheel users, you can create a new site and import the WordPress files.
Configure wp-config.php:
In the WordPress files, locate the wp-config-sample.php file and rename it to wp-config.php. Open this file in a text editor and enter the database details you created earlier – database name, username, and password. Save the file.
Run the WordPress Installation:
Open your web browser and navigate to “localhost/your-website-folder.” This will launch the WordPress installation wizard. Select your language and click on “Let’s go.” Enter the database details you configured in the wp-config.php file and proceed with the installation.
Set Up WordPress:
Provide a site title, username, password, and email address for your WordPress website. Optionally, you can discourage search engines from indexing your site while it’s in development. Click on “Install WordPress” to complete the setup.
Access Your Local WordPress Site:
Once the installation is complete, you can log in to your local WordPress site using the credentials you specified. You now have a fully functional WordPress website running on localhost, ready for customization and testing.
Additional Tips:
- Plugins and Themes: Install and activate plugins and themes on your local site just as you would on a live server. This helps you test the functionality and appearance of your site in a controlled environment.
- Backup Your Local Site: While localhost environments are secure, it’s still a good practice to regularly back up your local WordPress site. This ensures that you can easily restore your work if anything goes wrong.
- Troubleshooting: If you encounter issues during the installation process, check the error logs of your local server environment for clues. Online forums and documentation for your chosen server environment can also provide valuable assistance.
Conclusion:
Setting up WordPress on localhost is a valuable skill for developers and website creators. It allows you to experiment, make mistakes, and perfect your site before it goes live. By following these step-by-step instructions, you’ve now successfully installed WordPress on localhost, providing you with a secure and private environment to build and refine your WordPress projects. Happy developing!